Albert Stark
Tooling
All good students have their own motivation to do well at anything. Be this the ability to go and play football, the promise of a new xbox or anything else. For me the motivation was getting a 3d printer.There is however a small problem, and that is that the resin and other things required to keep this printer running are not cheap at all. So here I decided to make some custom 3d prints for the local Jewlery sellers after being told by my mum that one of them had been looking for new tooling on the local Facebook group.
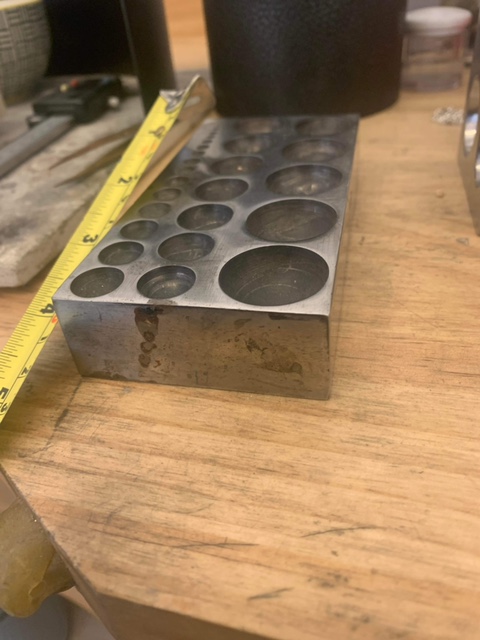
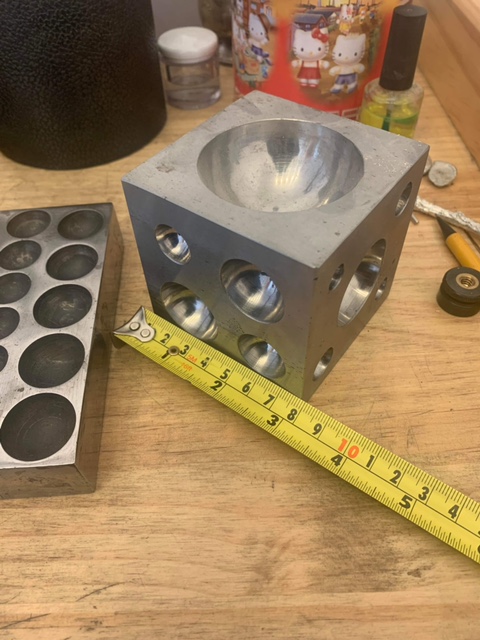
The specific type of tooling that was requested was a stamp, into which thin metal can be hammered and formed into a desired shape. I was sent an image of a reference piece that was made of steel, that was subsequently annealed. By instinct i expected that hardened metal would be preffered, but I have since been told that it is more prefereable to have hard metal that is then annealed, as that allows the workpiece to form better.
The sample image which I recieved can be seen below:
It is also because of this fact that I am happy with the tooling being 3d-printed. Whilst the particular resin which I am using is strong, it is not hyper strong, despite its 'tough' branding. However, looking at some of the numbers for things like the Tensile strength and, more importantly, the impact yield strength. They are completely different. This is not a uge cause for concern though, as I doubt that the Jewler is going to be hitting full swing, with an impact force of several giga-pascals.
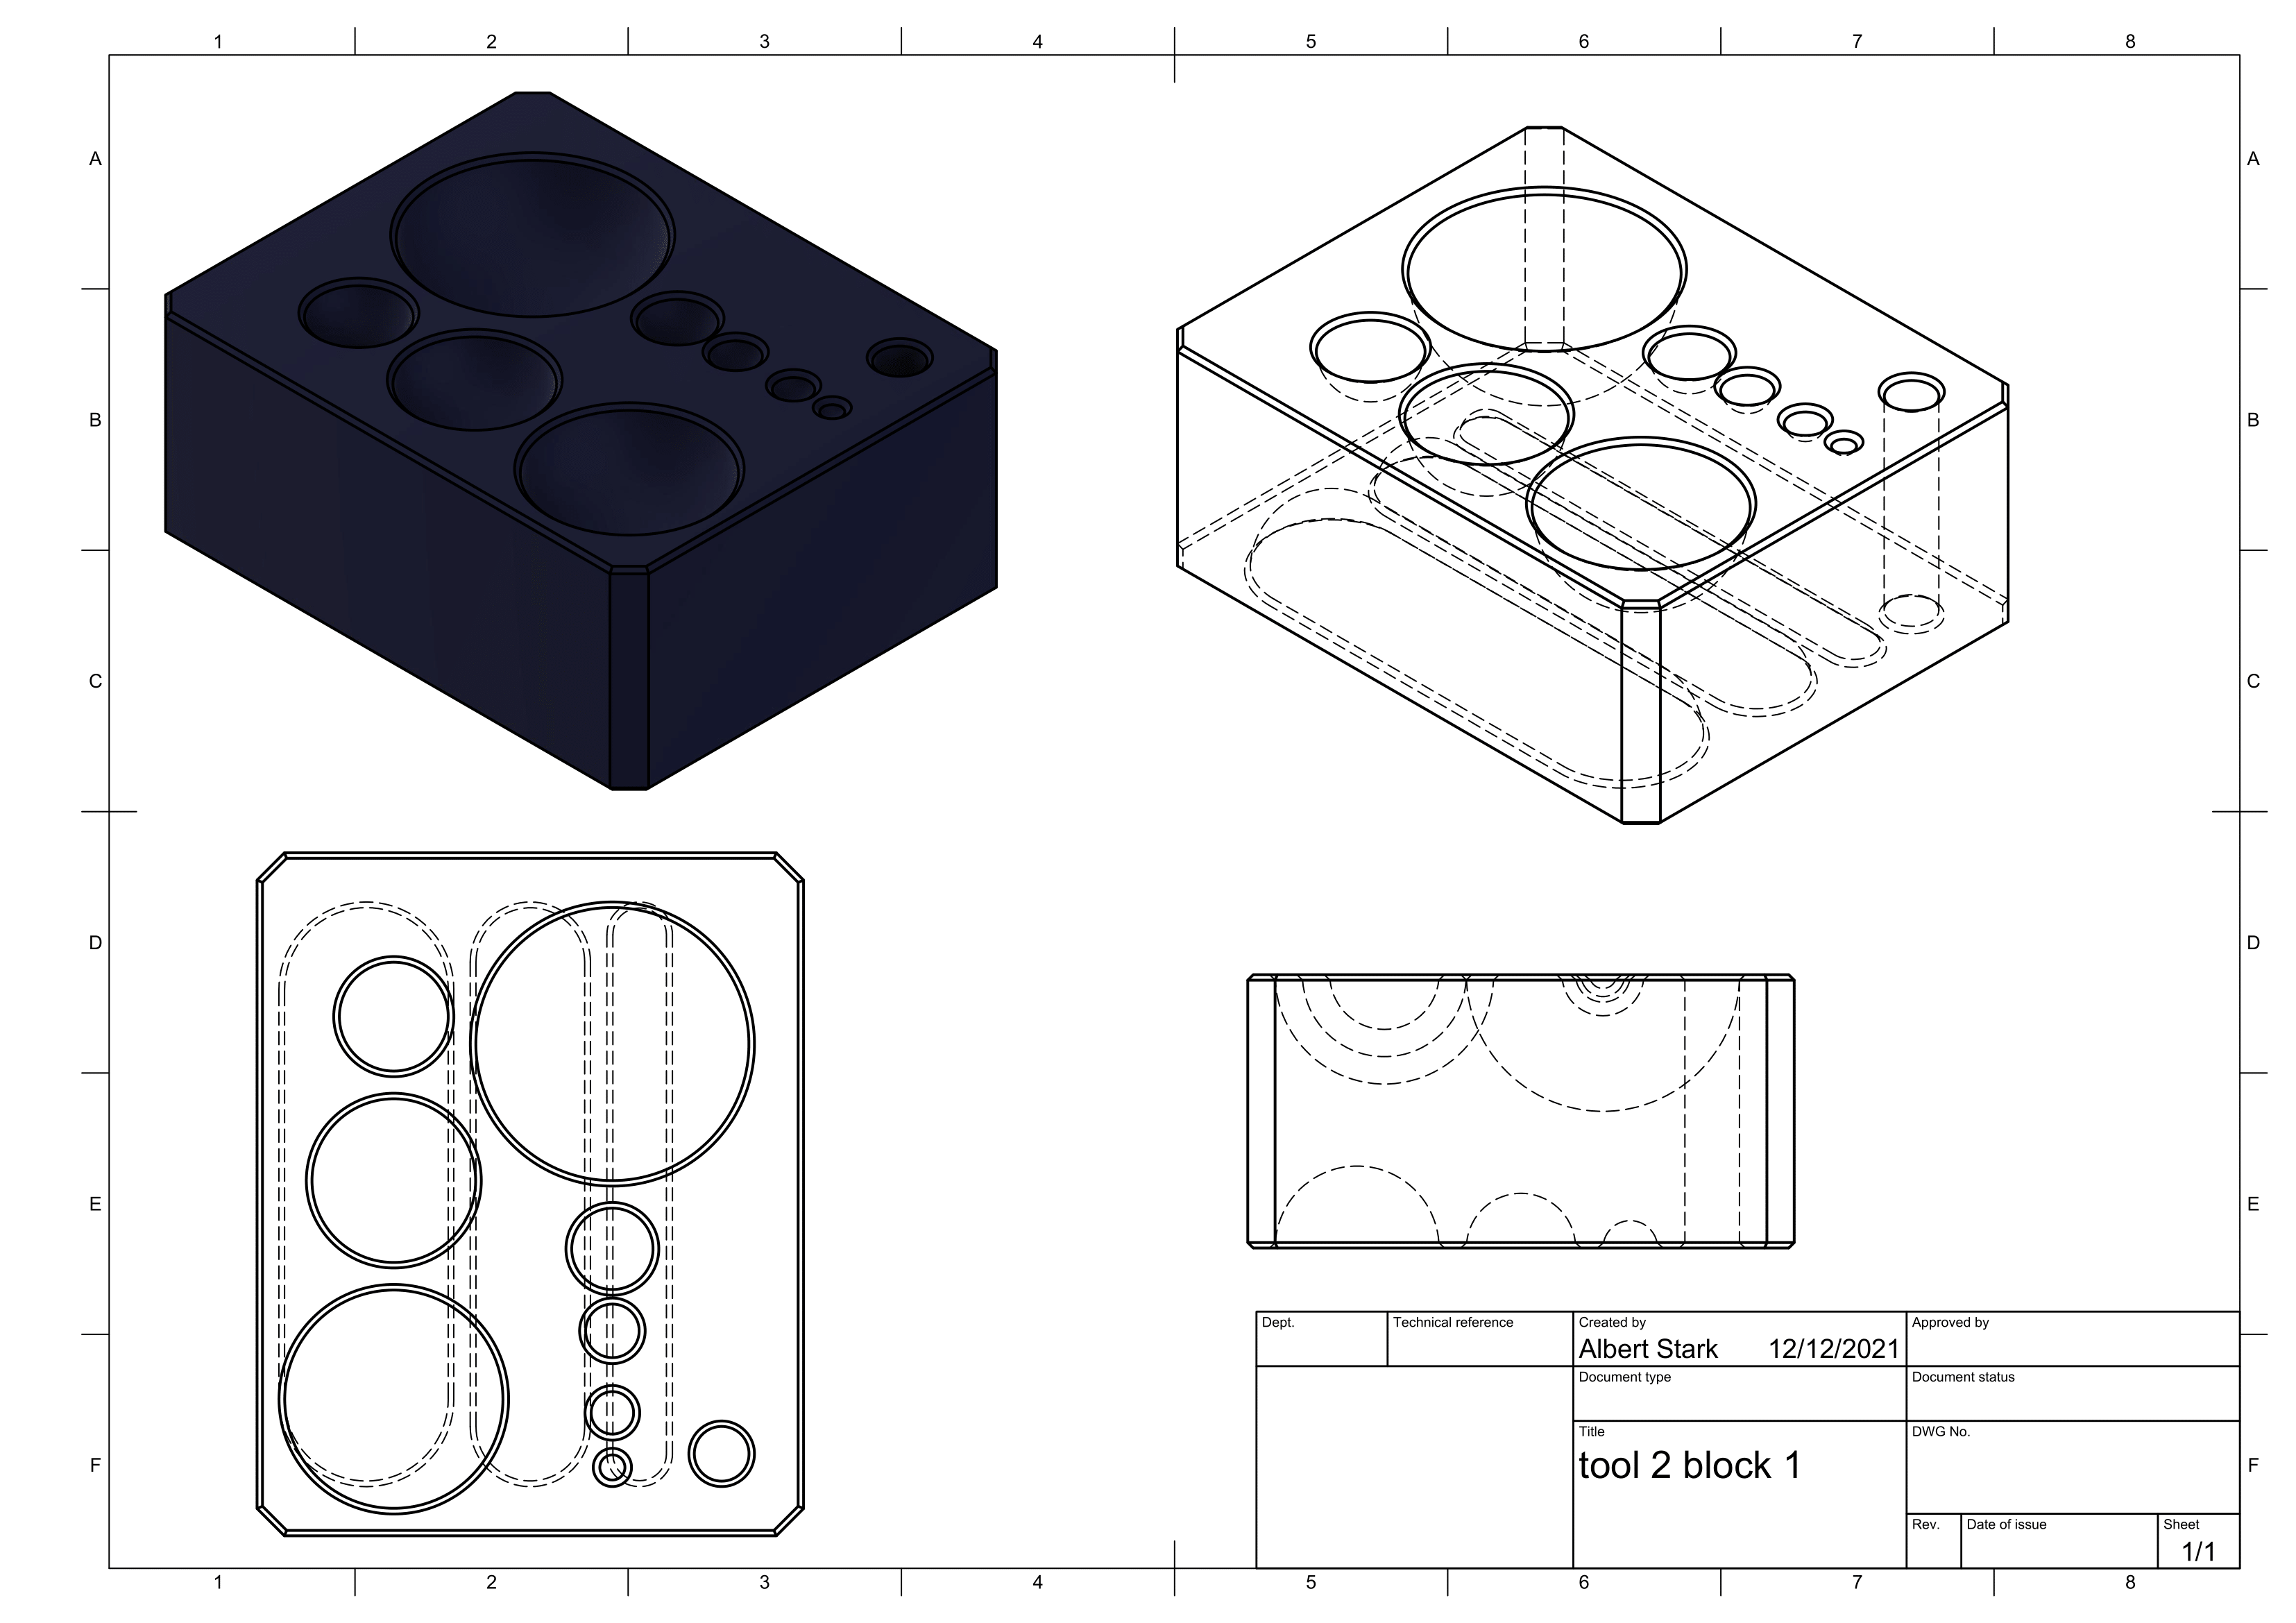
The actual design of the tooling is quite simple. All it is is som inverted hemispheres and a few revolved slots, but that still didnt stop it from going through several design iterations following a back and forth of emails.
Ultimatley the design that was settled on was the one shown below:
The manufacturing was quite a process. Though I am used to 3d printing, it was the first time that I have ever attempted such a large print on my printer. THe large size meant that some resin refils were necessary to finish the print. Unfortunatley the first refil was supposed to happen right in the middle of dinner, and I completely forgot about it, leaving me with this rather sad looking piece of failure:
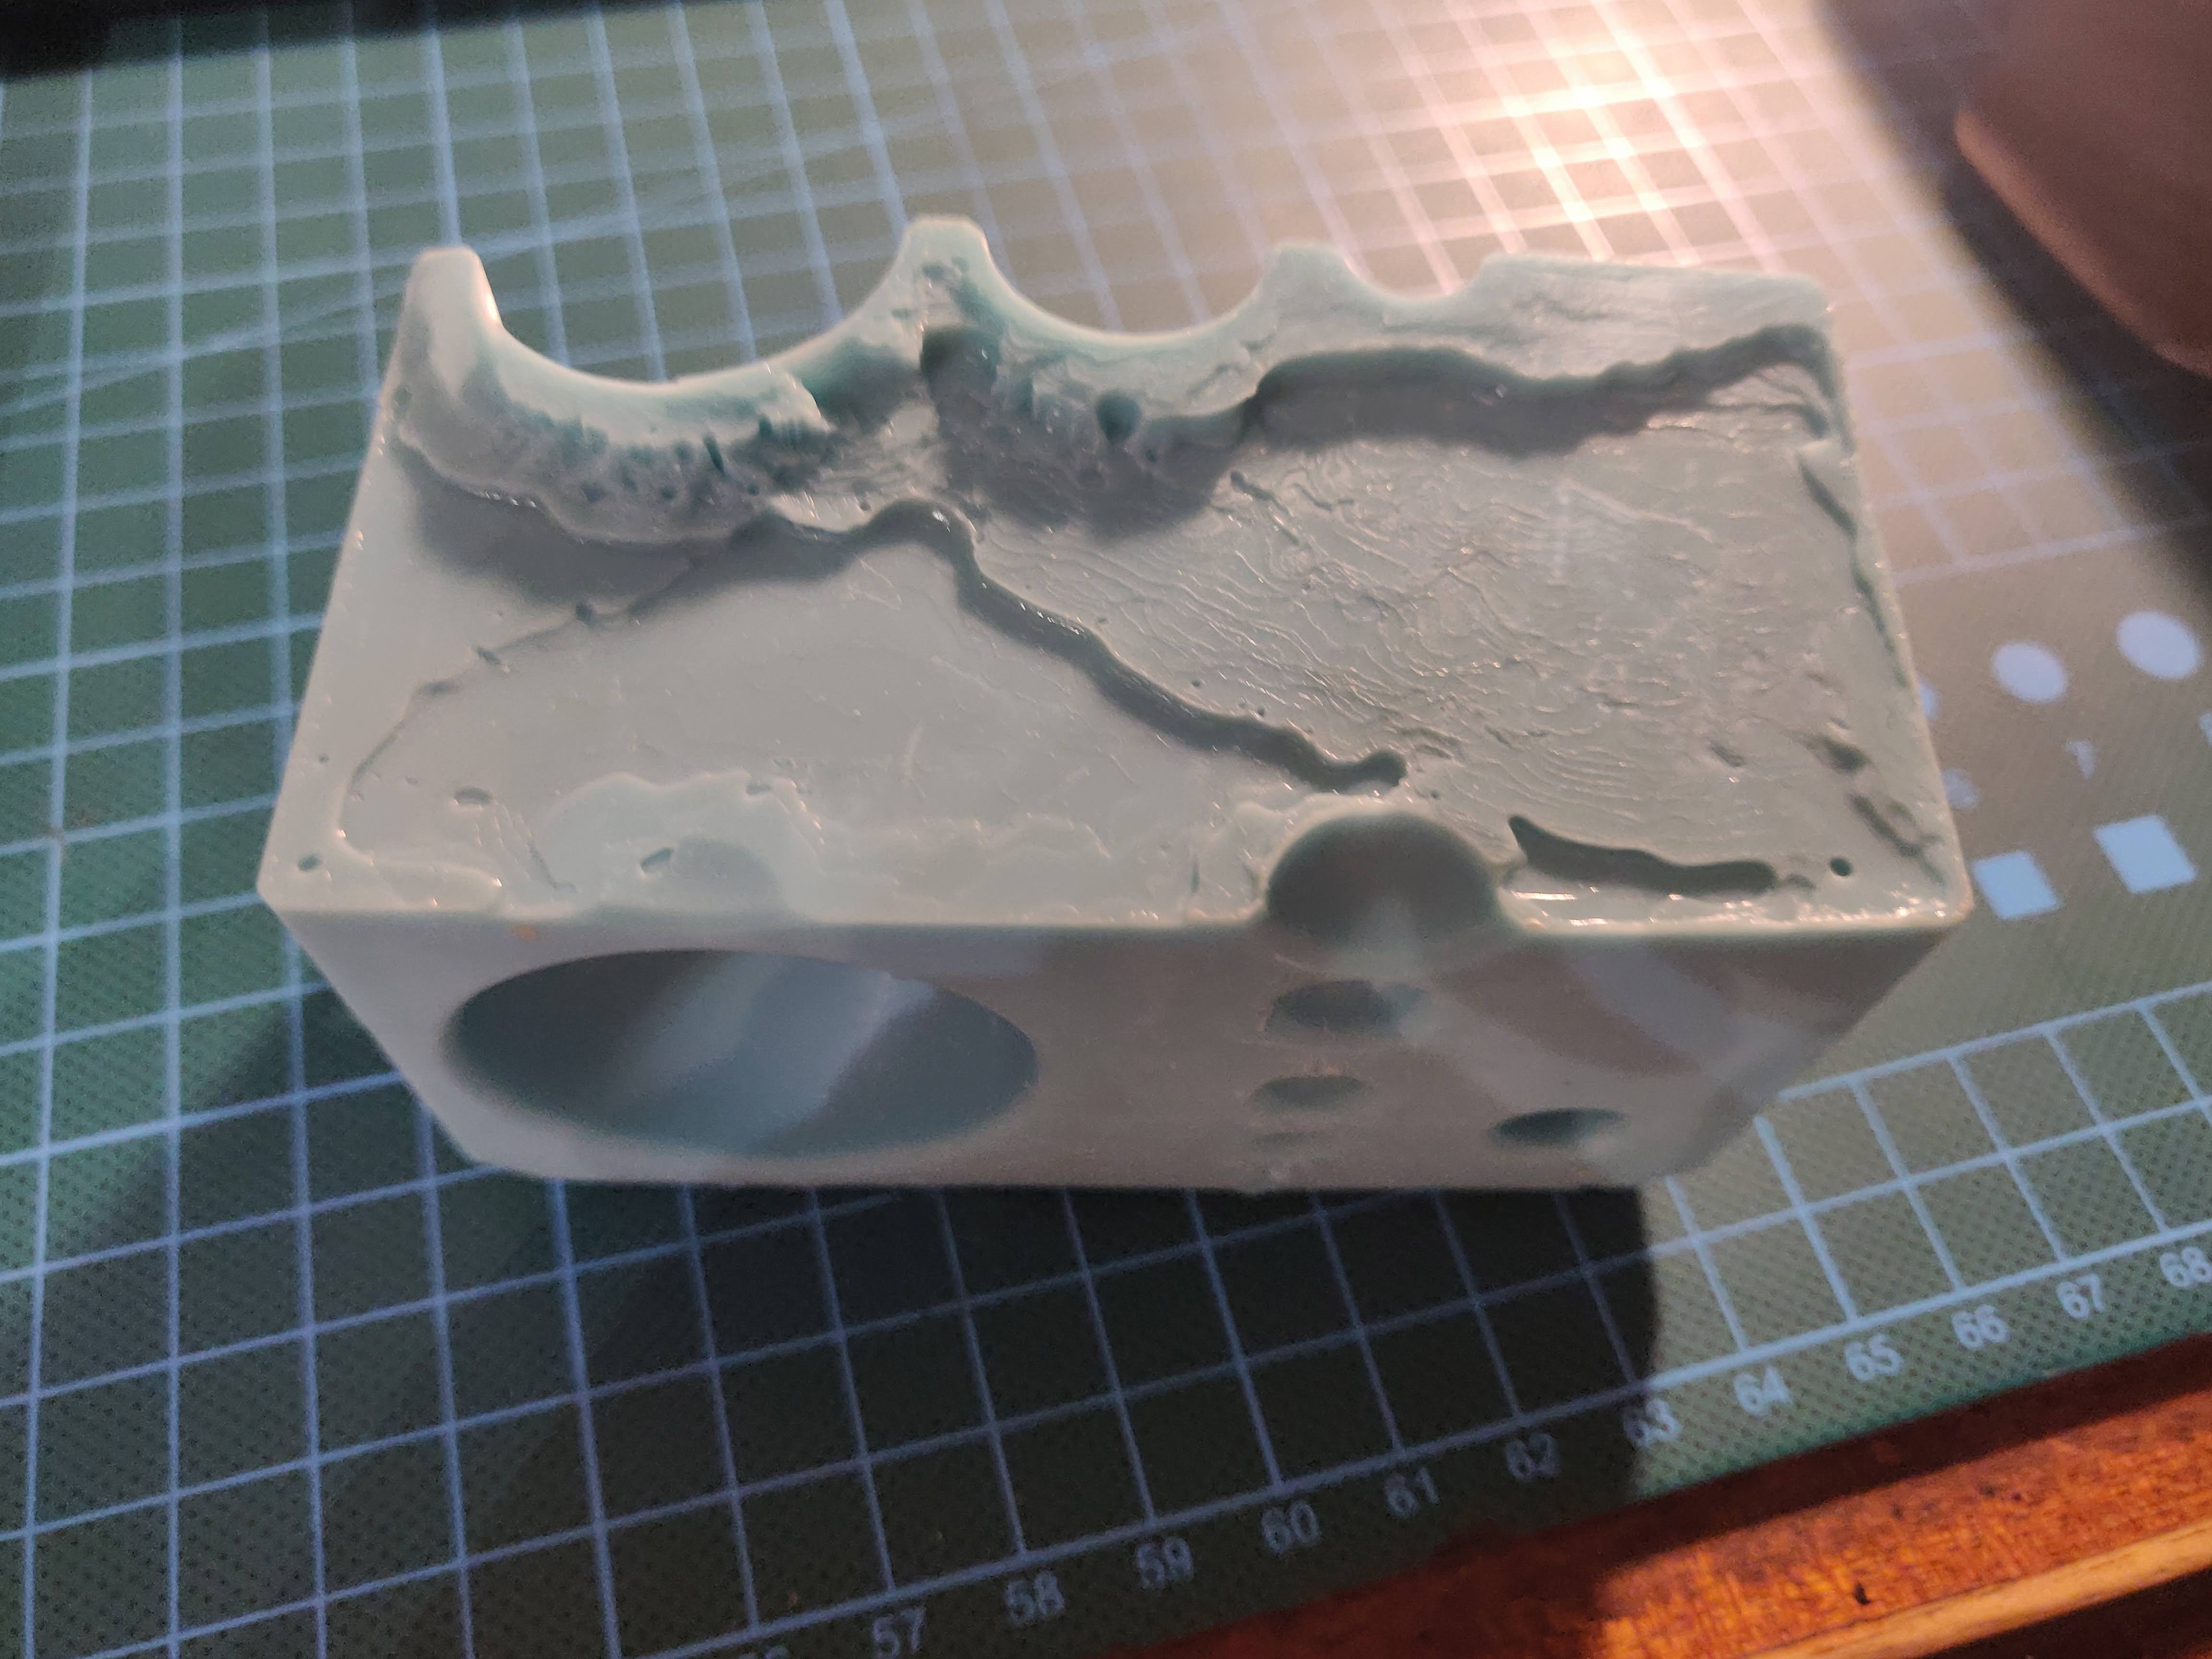
Since this is obviously an unnaceptable outcome, I did the logical thing, and woke up at midnight, and 4AM to refil the printer. Which was ultimatley succesful.
All in all I am super happy with this project, as it has taught me the valuable skill of printing your stuff at a good time, so you can actually keep a sleep schedule. As well as being a very effective demonstration of the ability for 3D printed tooling to be made very quickly, anmd with a much lower leadtime than steel or aluminium equivalents, and it allows for fully customisable shapes as well!
TL;DR: This was a fun project, plan your prints well, keep your sleep schedule intact.
(^v^) Bye